• Blog
  • About
  • DIY
  • Victorian on Van Buren
  • Contact
  • Links
  • Shop
    • Facebook
    • Instagram
    • Pinterest

The Vettel Farm

DIY, Home Decor, & Lifestyle blog

Make Your Own Vintage Santa Wood Cutout

December 13, 2021 by thevettelfarm

In the 1950’s, the Douglas Fir Plywood Company created whimsical Christmas U-Bild patterns for families to create amazing outdoor scenes. It was a genius idea really and a wonderful way to sell lots of plywood! My love for these developed when I stumbled upon an original Santa that was straight from the 1950’s. I researched everywhere to see if it was an old store model or if it was a Coca Cola Santa. I was pleasantly surprised to discover that these graced the lawns of many homes across America and there were other pieces that matched him!

I wasn’t the only one who was enamored by these jolly Christmas characters, my Mom has been determined to create her own set of all of the characters and with her help I’m going to share the process. With that, I want to note that this is NOT an inexpensive project. These holiday decorations are pieces that she plans to treasure forever, so the cost was not a limiting factor, but please note that they are a labor of love.

Patterns

For the cutouts we created we used VINTAGE patterns. We estimate that the cost was around $300 alone for all of the patterns together. The Douglas Fir Plywood Company sold the patterns in sets for (1) Santa & Christmas Wreath (2) Reindeer (3) Sleigh & Joy to the World (3) Choir Angels (4) Joyous NoelΒ  and the (5) Nativity Scene. There are several copies of these patterns that are slightly less inexpensive BUT you have to figure in the cost of printing these digital files and printing them to scale.

Each type of pattern has disadvantages and advantages. Older patterns are just that, they are old. So they may be more fragile, but they were created with the type of paper intended to work well outdoors attached to plywood. These patterns also come to you in the correct scale. All of the older patterns are copyrighted. Newer patterns have to have a second source to print the digital file, which can be expensive. The type of paper is also important in this process, as you will want to you a paper that is sturdier. To create the pattern to scale you may have to print portions of the pattern and piece them together for the full effect.

Materials

Obviously you will need plywood. Our plywood came to about $65 a piece and we used three for the Santa, Reindeer, Sleigh, Wreath, and Joy to the World Signs. The next supply is wood glue, we used this wood glue to attach the patterns to the plywood. Once each pattern was glued on, we used a sealant, this poly to protect them from the elements. Other tools needed include a jig saw with a good, fine blade.

The Process

1. This step is optional but strongly recommended, it made for a nice base for each of the cutouts to adhere. We took the extra time to prime each of the pieces of plywood.
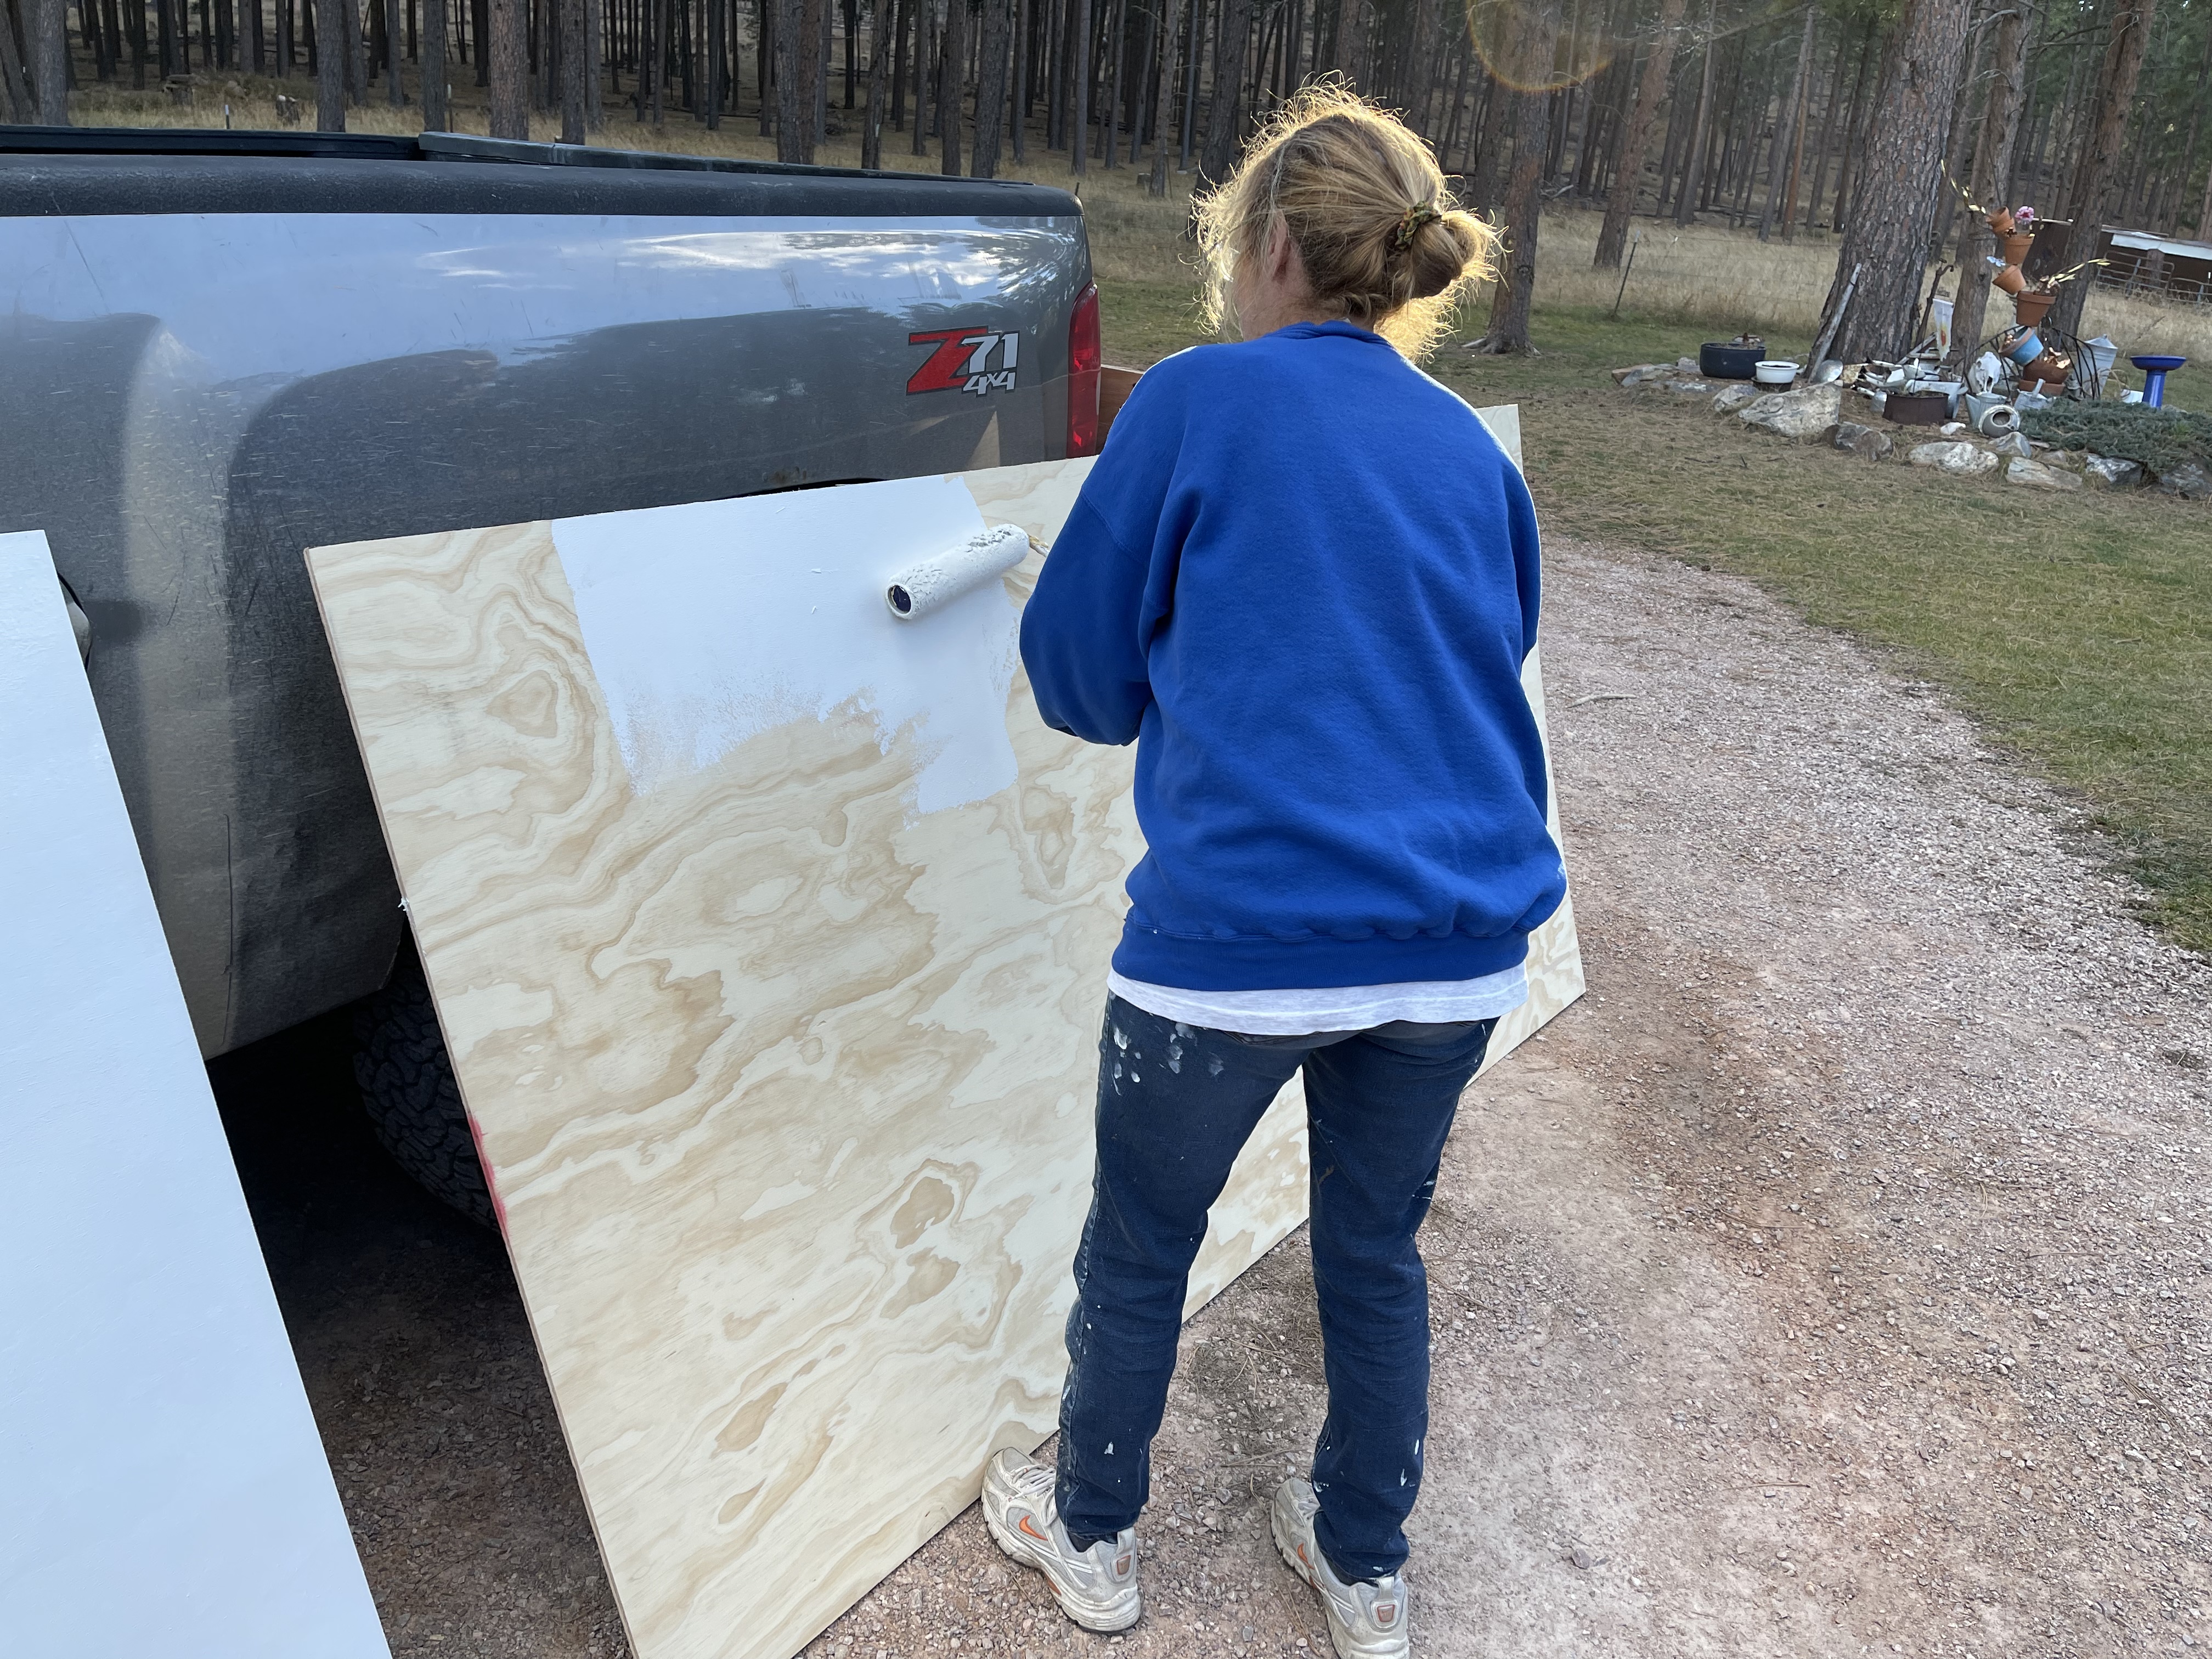
2. Cut out the patterns. Each of the patterns has a seam allowance. Once the patterns are cut, iron each on a low setting to get the wrinkles out.

3. Next glue your patterns to the plywood. Try to make sure there are no air bubbles. Let the glue dry for 24 hours.

4. Now to the fun part! Cut out your shapes!

5. Last step is to add your poly coat to protect your masterpiece. We used two coats. We primed the back of each and sanded the edges.

6. Set up your amazing outdoor display and enjoy it for many years to come!

If you love our outdoor display, please take a moment to vote for our home here! Type 29 Van Buren!

Click here to vote!

Please comment if you have any questions, I would love to help!

Below you will find a few of the patterns that I have found for sale, some are newer and some are original.


Share this:

  • Share on Facebook (Opens in new window) Facebook
  • Share on X (Opens in new window) X

You might also enjoy...

Best Vintage Inspired Holiday Sweatshirts
Vintage Style Christmas Blow Molds
Amber Glass for Fall Decor

Filed Under: Uncategorized Tagged With: christmas decorations, cutout Santa, douglas fir, douglas fir plywood, outdoor christmas, outdoor christmas display, outdoor santa, plywood, santa cutout, santa display, santa pattern, santa's reindeer, santa's sleigh, vintage santa

Previous Post Using Vintage Items for Your Thanksgiving Table
Next Post Grinch Kid’s Christmas Bedroom

Comments

  1. Corey says

    December 13, 2021 at 2:41 am

    I love these! I ordered the elves from ubild last week so I’m excited to make them. How did you apply the glue to adhere the paper cut outs?

    • thevettelfarm says

      December 16, 2021 at 3:47 am

      We used a paintbrush and applied the glue to the plywood.

  2. Heather says

    December 21, 2021 at 1:45 pm

    Just fabulous! I enjoy watching all you do. Very inspirational! I am a vintage girl at heart.

    • thevettelfarm says

      January 27, 2022 at 8:23 pm

      Thank you!!!

WELCOME

WELCOME

~
Hello, I'm Courtney, also know as The Vettel Farm! I’m a proud wife and mom to three little girls living on our farm in western North Dakota. I love all things crafting, cooking, creating, and collecting. I am a school counselor by day, but vintage loving DIY gal by night.
~

FOLLOW ME

  • Instagram
  • Pinterest
  • Twitter

CATEGORIES

  • antiques
  • Canning
  • Children
  • Crafts
  • DIY
  • Gardening
  • Holidays
  • Home Decor
  • jadeite
  • Milk Glass
  • Parties
  • Recipes
  • Renovation
  • Uncategorized
  • Vintage

Tags

Antique antiques books Book Wall Christmas Christmas decor Depression Glass diy Easter fall fall decor fall decorating fourth of july Garden glassware halloween halloween decor historic home historic homes home decor Jadeite Jadite old home love patriotic patriotic decor recipes renovation Spring Spring Decor St. Patrick's Day sweatshirts target target finds Valentine's Day vintage vintage christmas vintage decor vintage diy vintage inspired vintage kitchen Vintage Recipes vintage style Vintage Valentine winter winter decor

NEWSLETTER UPDATES

Leave me your email to receive blog updates, tips, and shopping offers just for you! DonΒ΄t miss any updates!

LATEST POSTS

Vintage Easter Desserts Inspired by Vintage Advertisements

DIY Match Striker with Vintage Glassware

Thrifted Spooky Cats & Dogs

Pack the Perfect “Vintage Style” Picnic

FOLLOW ON INSTAGRAM

thevettelfarm

All things V I N T A G E
Helping you embrace the charm of yesteryear ✨
DIYS - Holiday - Decor - Recipes - Style
Find my Etsy + LTK + Blog ⬇️

99 Days until Halloween! πŸ§‘πŸ–€πŸ§‘πŸ–€πŸ§‘ I can not wait! It’ 99 Days until Halloween! πŸ§‘πŸ–€πŸ§‘πŸ–€πŸ§‘ I can not wait! It’s 103 here today and I can not wait for Fall weather too 🫠🫠🫠🫠

#halloween #vintagehalloween #halloweendecor
With 100 days until Halloween, it’s time to start With 100 days until Halloween, it’s time to start sharing my favorite vintage Halloween decor and DIYs! πŸŽƒ This one is so easy, IF you can find a vintage Halloween postcard. Which can be a challenge! 

I use photo printing companies to enlarge the postcard to a poster size, then use an old β€œLive, Laugh, Love” style sign to affix the poster with Modge Podge πŸŽƒ

#vintagehalloween #halloweendecor #halloweendiy
Thrift stores will start to put out Fall and Hallo Thrift stores will start to put out Fall and Halloween very soon! Keep your eye on the lookout for vintage jack-o-lanterns pails! πŸŽƒ 

They make for a spectacular tree! πŸ§‘πŸ–€

#fall #halloweentree #halloween #jackolanterns
Such an easy way to create a simple bird bath and Such an easy way to create a simple bird bath and a great way to use an imperfect ironstone piece! ✨✨✨ 

Do you love to watch the birds? 

#birdbath #ironstone #ironstonecrushin #gardendiy
This collection had some great pieces! I loved the This collection had some great pieces! I loved the vintage vibe! πŸŽƒπŸŽƒπŸŽƒ Debated on the cool pumpkin gumball machine but picked up a few other fun pieces! πŸˆβ€β¬› I will share my haul in stories tomorrow! πŸŽƒπŸŽƒπŸŽƒ

#halloween #vintagehalloween #michaelscraftstore #halloweenπŸŽƒπŸ‘»
Had to make my own SPOOKY sweatshirt for the kicko Had to make my own SPOOKY sweatshirt for the kickoff of SPOOKY SEASON today! πŸ‘»πŸ•·οΈπŸŽƒ We got all our supplies from @hobbylobby and used my @cricut EasyPress Mini for this project! 

Raise your hand if you are excited for SPOOKY season! And wait til you see the vintage inspired patches I found to go with this Spooky design! πŸ–€πŸ§‘πŸ–€πŸ§‘

#codeorange #halloween #spookyseasonπŸ‘»πŸ˜ˆπŸ’€β˜ οΈπŸŽƒπŸ¦‡ #spookyseason #dΔ±y
Happy 4th of July Eve! 🧨 What are your plans for t Happy 4th of July Eve! 🧨 What are your plans for the 4th? πŸŸπŸ’™β›΅οΈπŸŽ‡πŸ‡ΊπŸ‡Έβ€οΈπŸ§¨

#nostalgia #4thofjuly #4thofjulyparty #vintage
An oldie, but a goodie! I made this flag several y An oldie, but a goodie! I made this flag several years ago and took it apart to recreate the how-to! πŸ‡ΊπŸ‡Έ Someday I really want to create one with brighter fabrics, maybe next year! I hope you are all gearing up for a fun Fourth! πŸ‡ΊπŸ‡Έβ€οΈπŸ’™πŸŒ­πŸŸβ›΅οΈπŸŽ‡πŸ§¨

#fourthofjuly #ragflag #fourthofjulyweekend #flag #cribmattress
Follow on Instagram

GET UPDATES

Leave me your email to receive new entries, tips, and specially offers only for you! . DonΒ΄t miss any update!

  • Facebook
  • Instagram
  • Pinterest

COPYRIGHT Β© 2019. Emma Theme by Lovely Confetti · DMCA.com Protection Status